What is the ePortfolio?
In the ePortfolio, you can document all completed courses and continuing education units that are not related to EPAs or Workplace-Based Assessments (WBAs).
Unlike WBAs, there is no evaluation by supervision level here - you simply document your participation - including appropriate proof (= certificate) such as QR code, signature, or "proof photo".
For all documented units, you can record learning time (structured continuing education time) or ECTS credits.
Examples of ePortfolio entries:
- University courses & modules
- Rotations & block internships in medical school
- External conferences and continuing education
- Internal training sessions and workshops
- Teaching activities (clinical teaching, peer teaching)
- eLearning modules
- Simulation training
- Scientific project work
How is the ePortfolio structured?
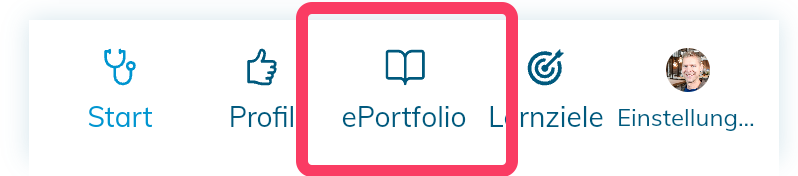
- The ePortfolio can be found directly in the main navigation as a standalone item
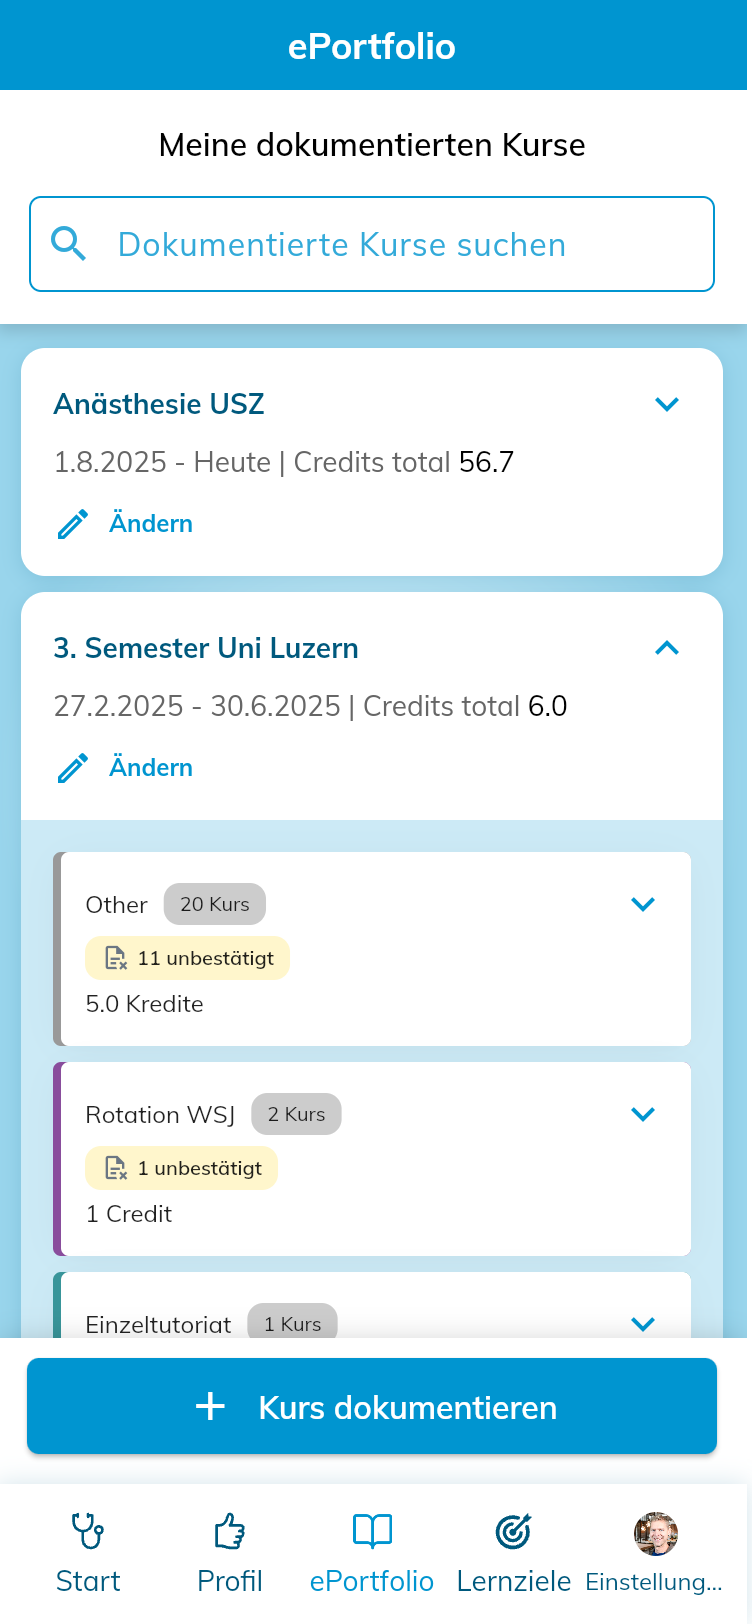
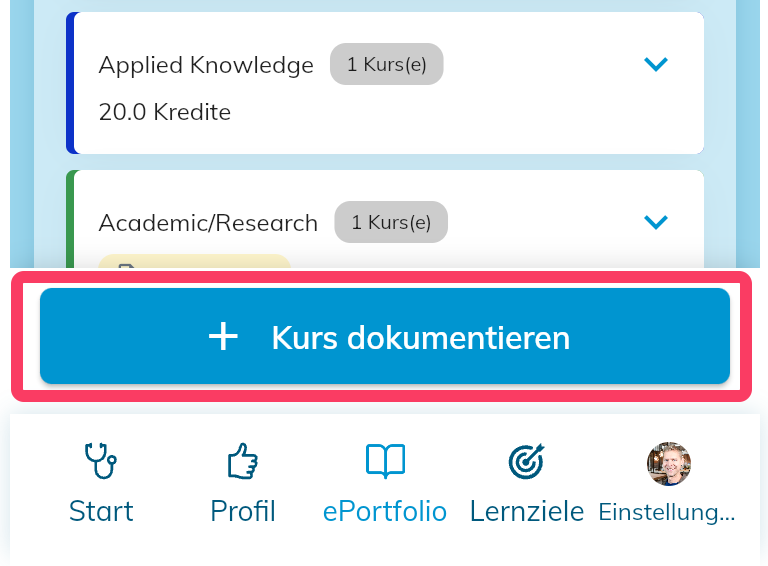
- The ePortfolio basically consists of 2 areas: The main page, which shows all already documented courses, and the course catalog, which appears after clicking "+ Document course".
How to document a course?

✍️ Two ways to record courses
There are two ways to document courses:
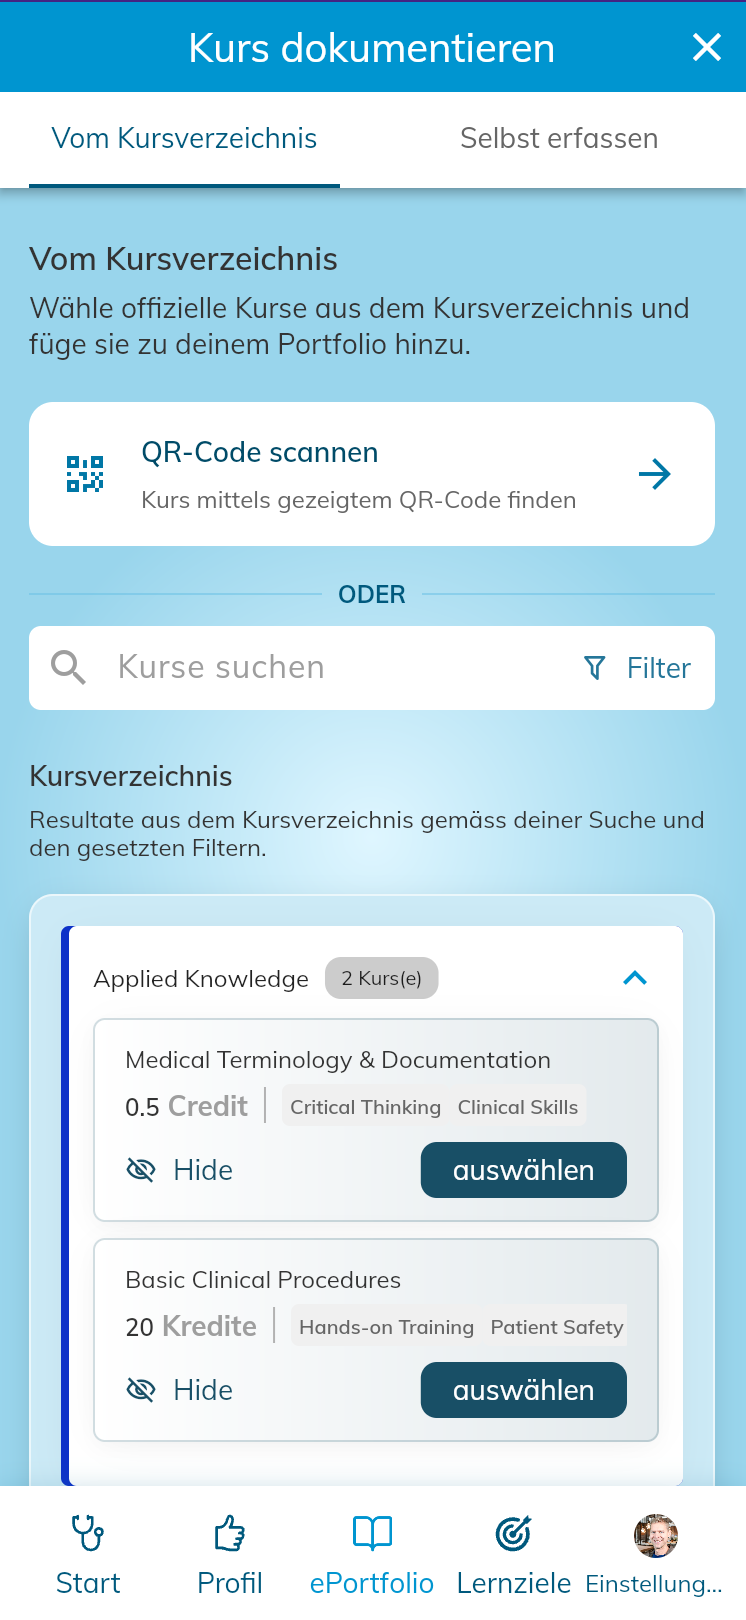
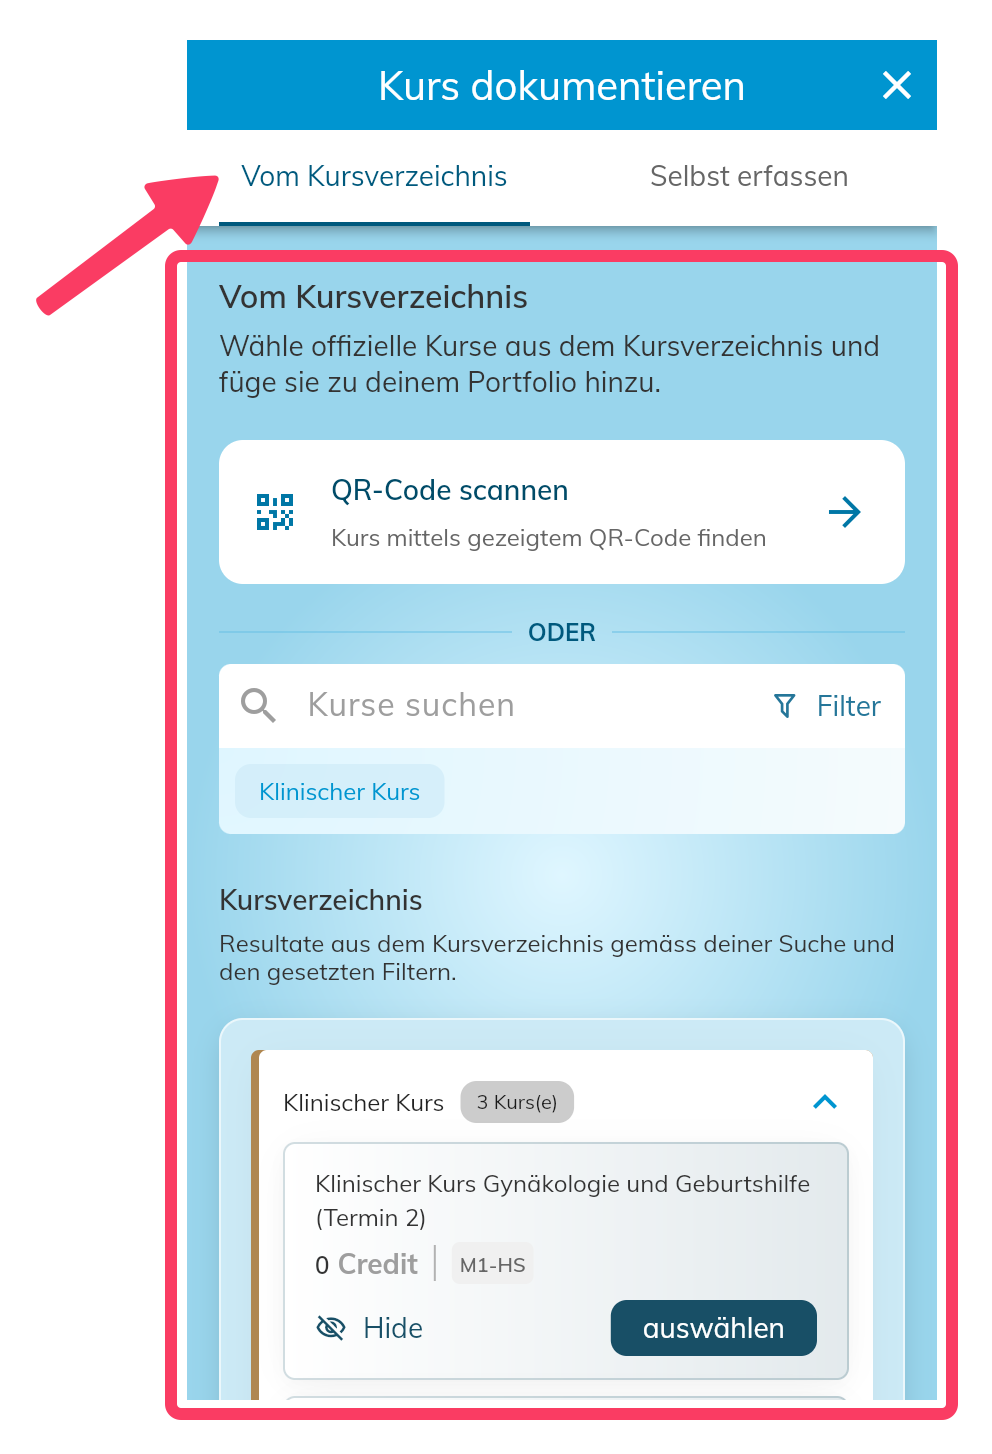
🔍 Add course from course catalog
- Your institution can maintain a central course catalog via the Cockpit. This will be displayed to you under "Document course
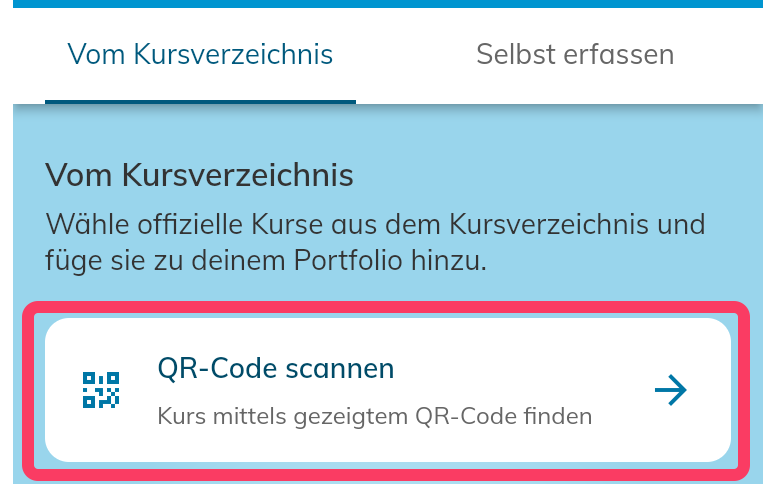
- If you're shown a QR code when completing the course, scan it to immediately find and document the course!
- This automatically adds the course confirmation (certificate). This saves enormous time when a QR code is displayed.
- This can be started either from within the app, or even directly via your smartphone's camera app.
or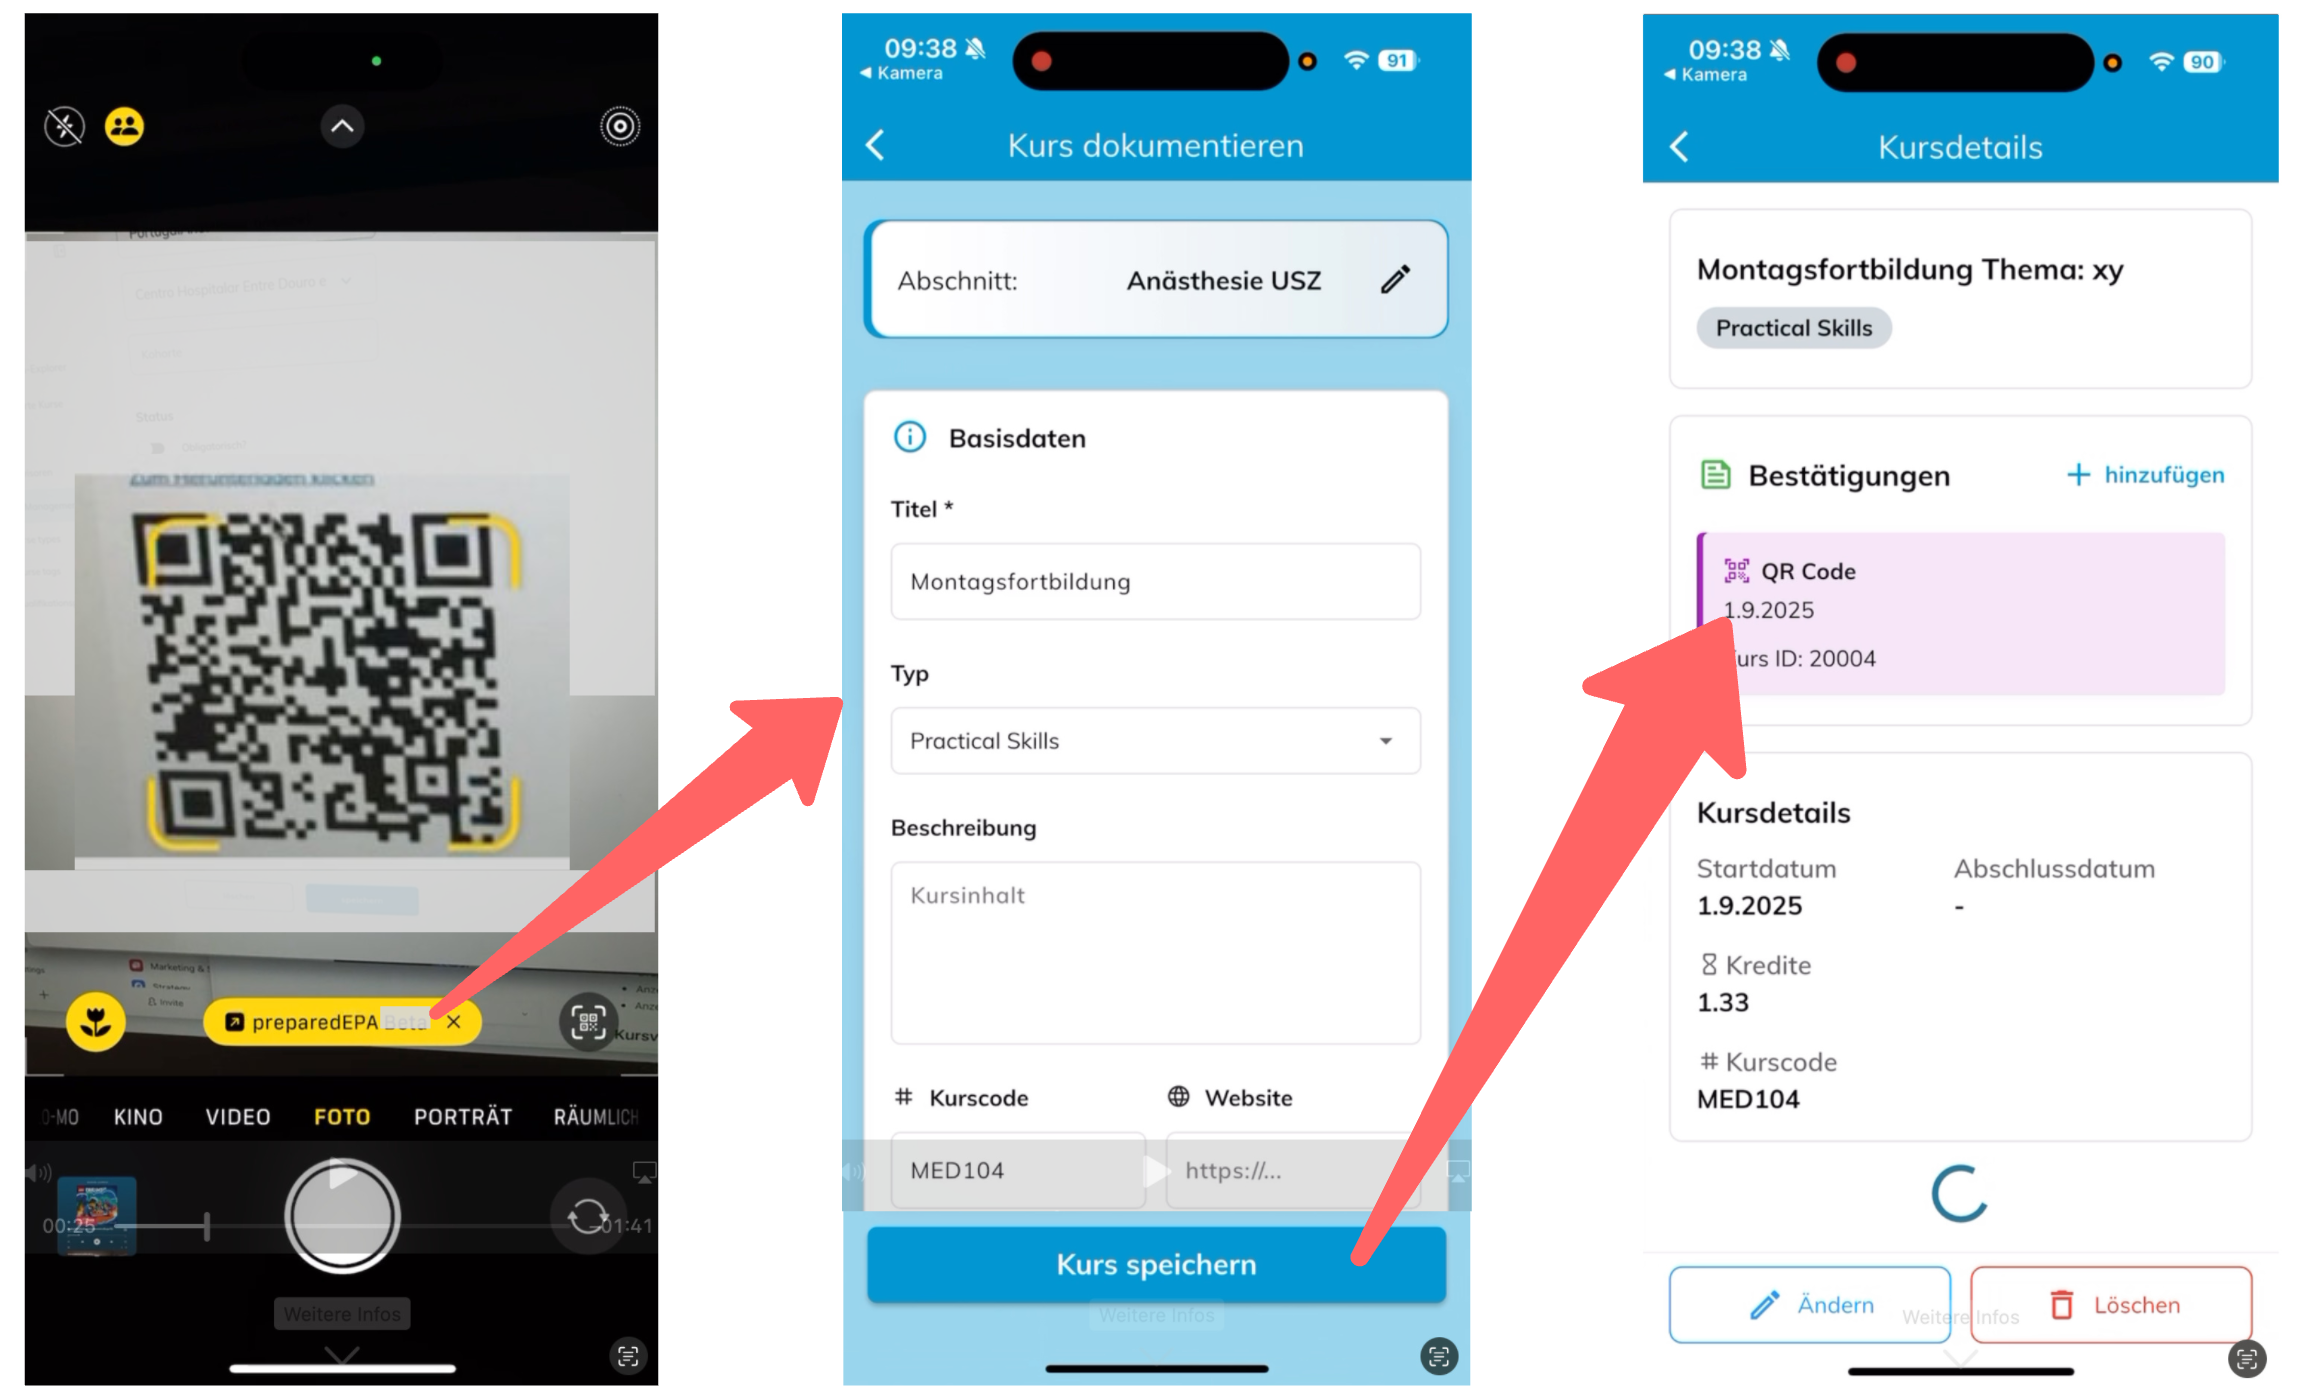
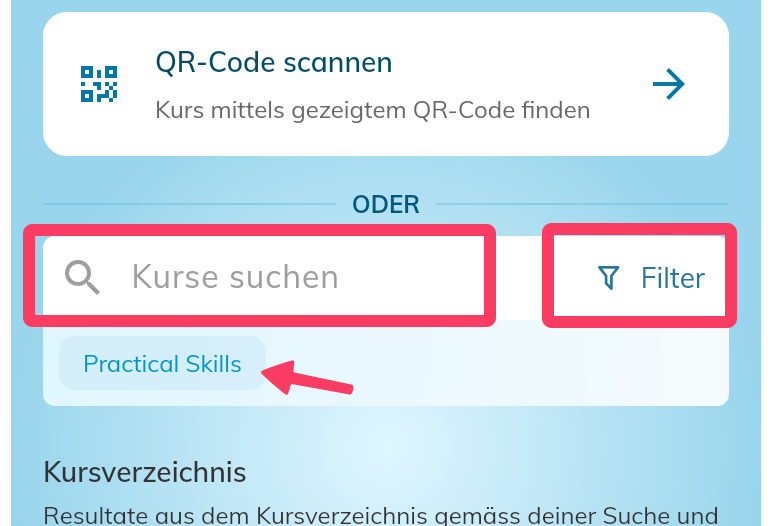
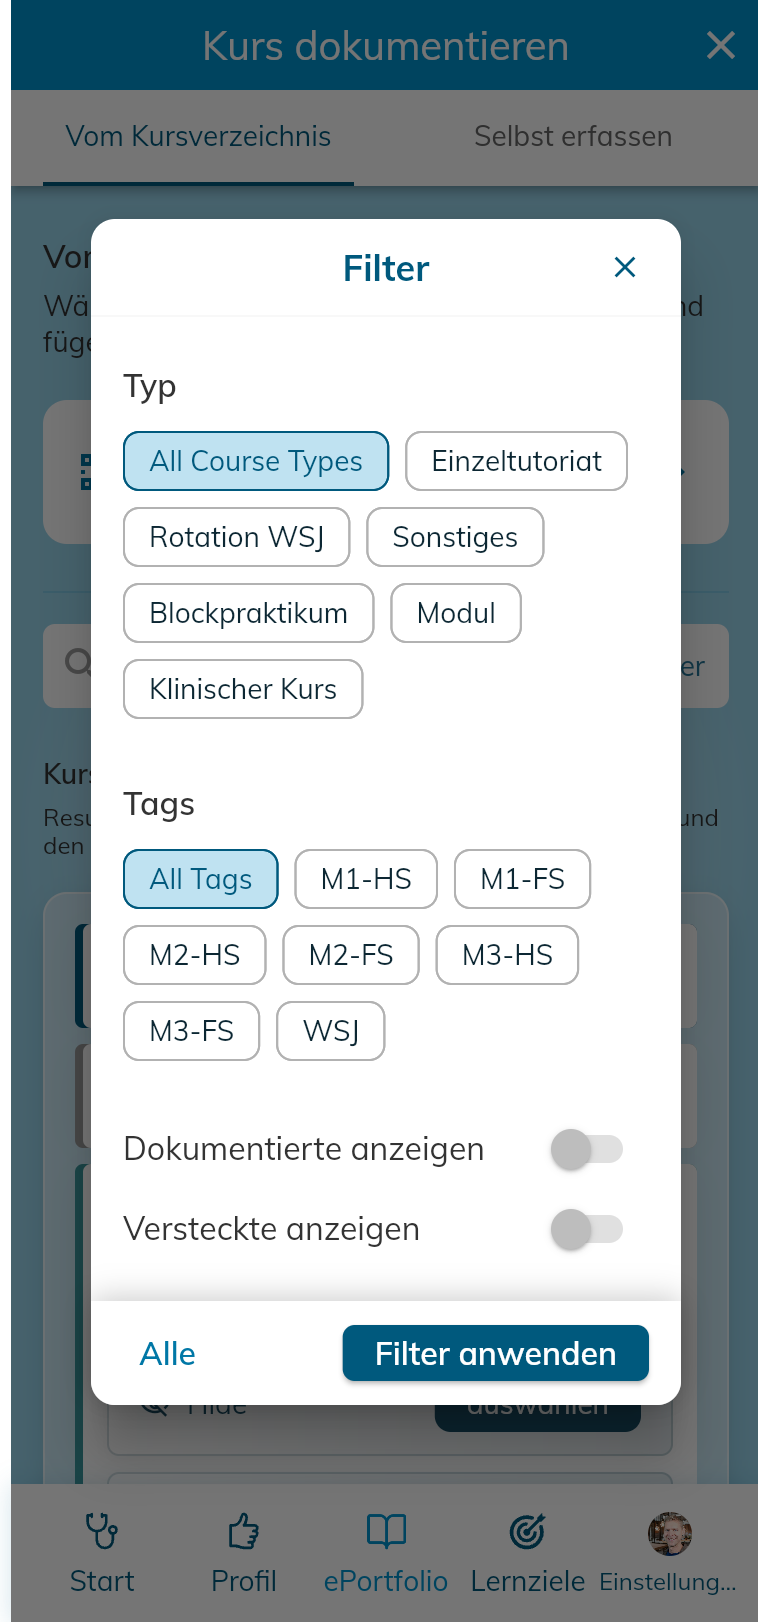
- The course catalog can otherwise be searched and filtered, e.g., by semester, course types, to select your course to be documented

- Note: Depending on the setting your institution has chosen, a course can be customized during documentation or not (e.g., title, credits, or time). In any case, you can adjust the date and your own notes
- Note: Depending on the setting your institution has chosen, a course can be recorded multiple times or not. Courses that can only be documented once disappear from the course catalog afterward, unless you explicitly show them again via this filter
📝 Add your own courses yourself
- You can also independently document courses — e.g., external seminars, specialist lectures, or individual continuing education. Click "Own course" for this
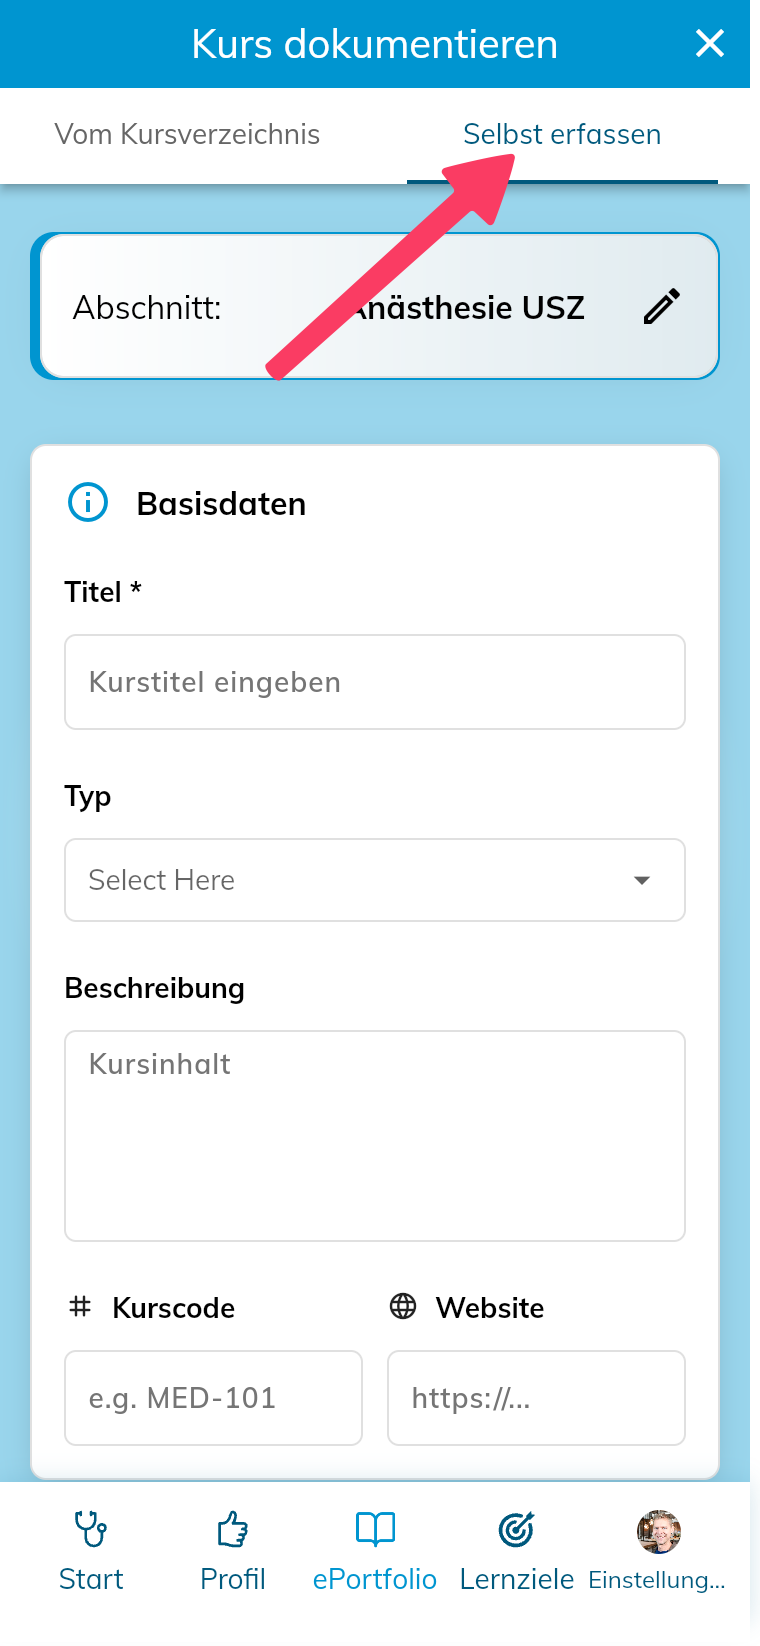
- Also choose an appropriate course type in this case
📸 Record participation confirmation (certificate)
To confirm participation in a course, you can add confirmations directly in the app. Several options are available:
- QR code scan — either the displayed QR code of the course, or the QR code of the instructor, who can retrieve a personal QR code in the preparedEPA app.
- Instructor's signature captured directly on your smartphone.
- Photo of the instructor's badge.
- Upload participation certificate or confirmation document as file (PDF or image).

⏱️ Record continuing education time or credits (e.g., for 42+4 Initiative)

You can choose whether to enter:
- Time (in hours/minutes) or
- Credits.
🧮 1 Credit = 45 minutes of education or continuing education time The app automatically converts between time and credits. You can switch between modes at any time.
Where do I see the courses to be completed? (Course catalog)
- If your institution actively maintains courses to be completed in the course catalog, you can find them by clicking "Document course" at the very bottom
- You now see the course catalog, which can be searched and filtered, e.g., by course types and tags for semesters, etc.

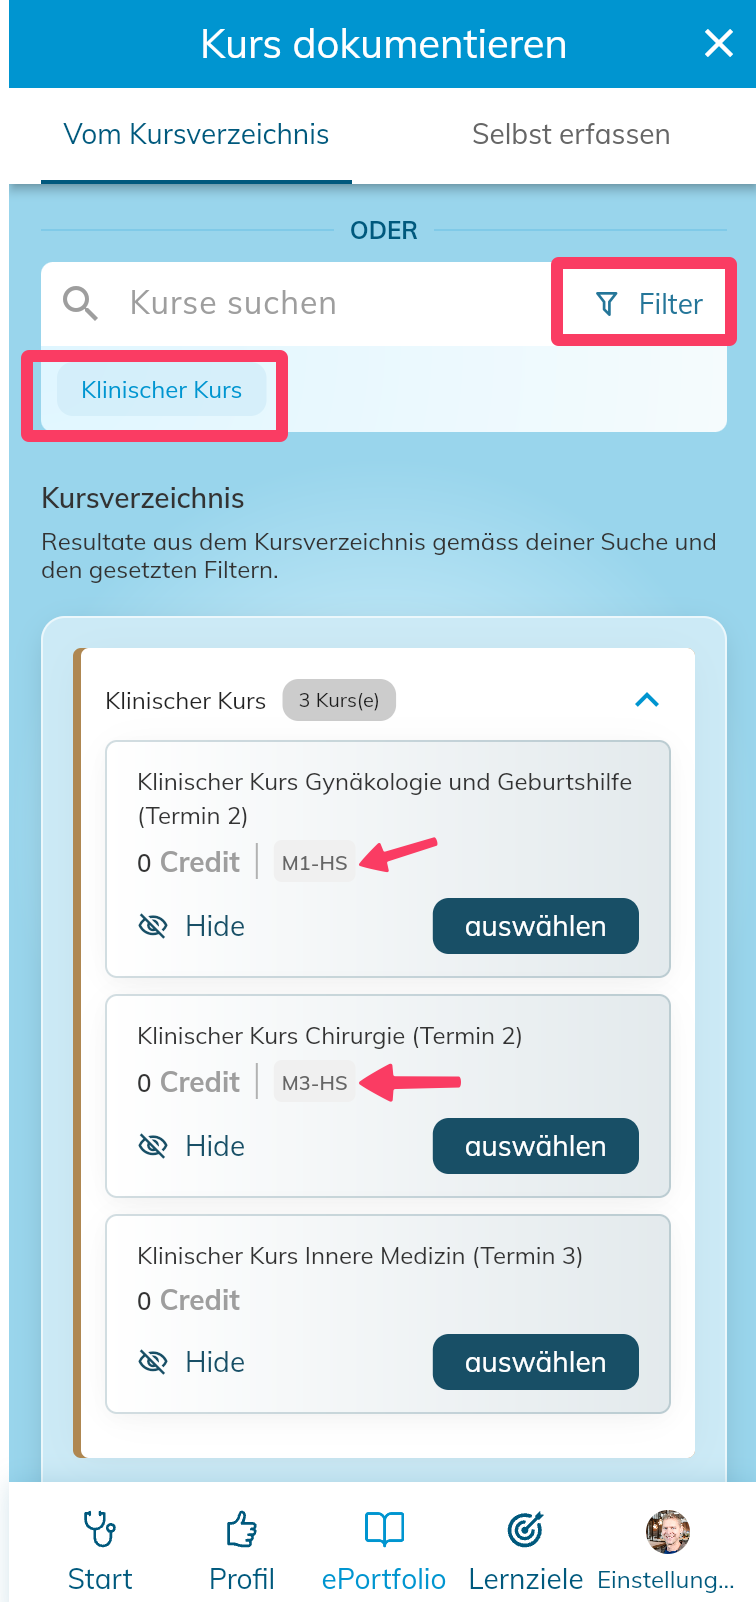

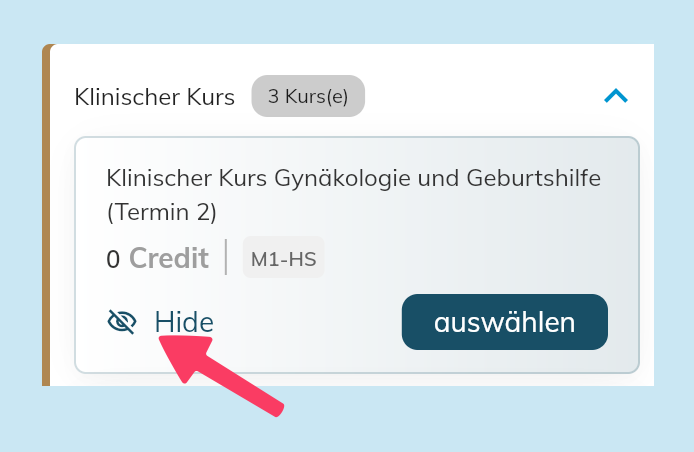
- You can hide/conceal courses in the course catalog. If the course catalog contains, for example, elective courses that you don't plan to complete, you can hide them for yourself.
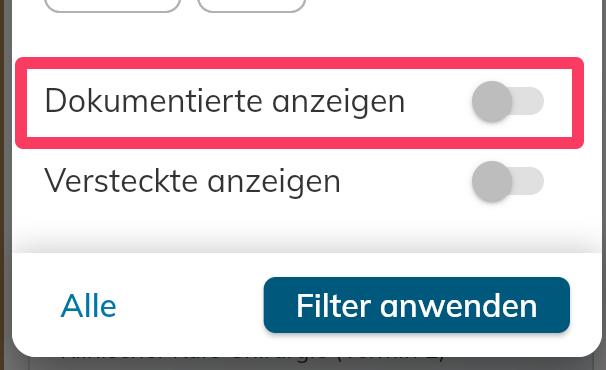
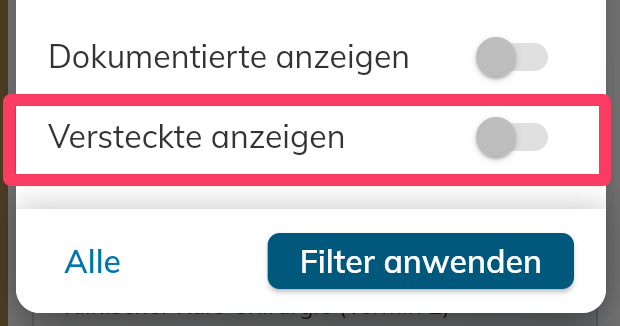
- To show hidden/concealed courses later, select the corresponding filter:
How do I structure my ePortfolio? (Semesters, workplaces, rotations, etc.)
- The ePortfolio main page can be freely organized into sections and already documented courses can also be moved within sections. The sections organize your ePortfolio by workplaces, semesters, rotations, etc., however it's clear for you.
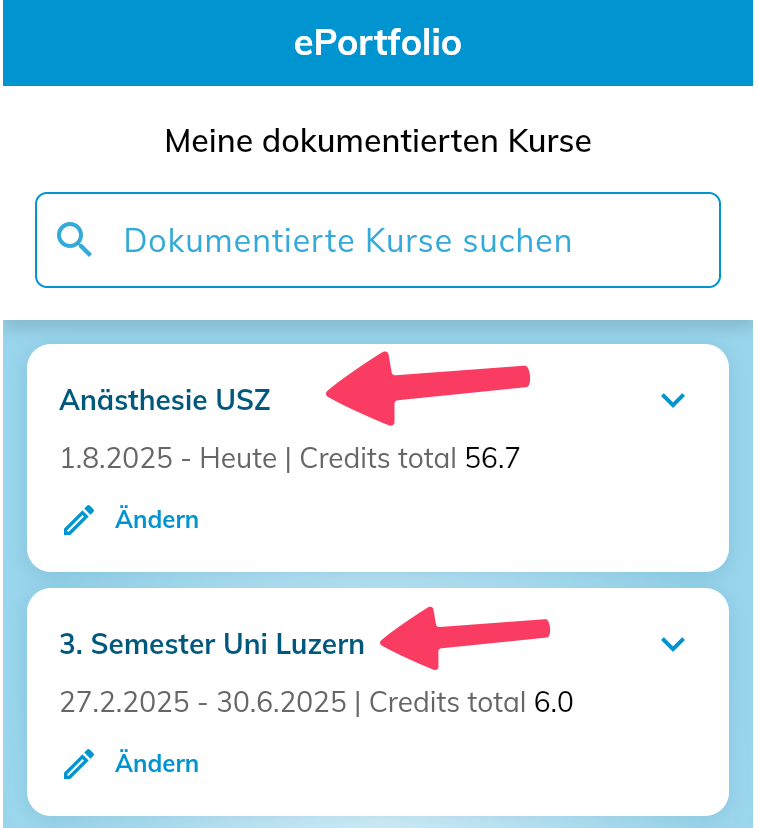
Tip: For students, it's advisable to create a separate section for each semester or year to ensure clarity.
- Sections are sorted chronologically in descending order. Newly documented courses are added to the top section by default
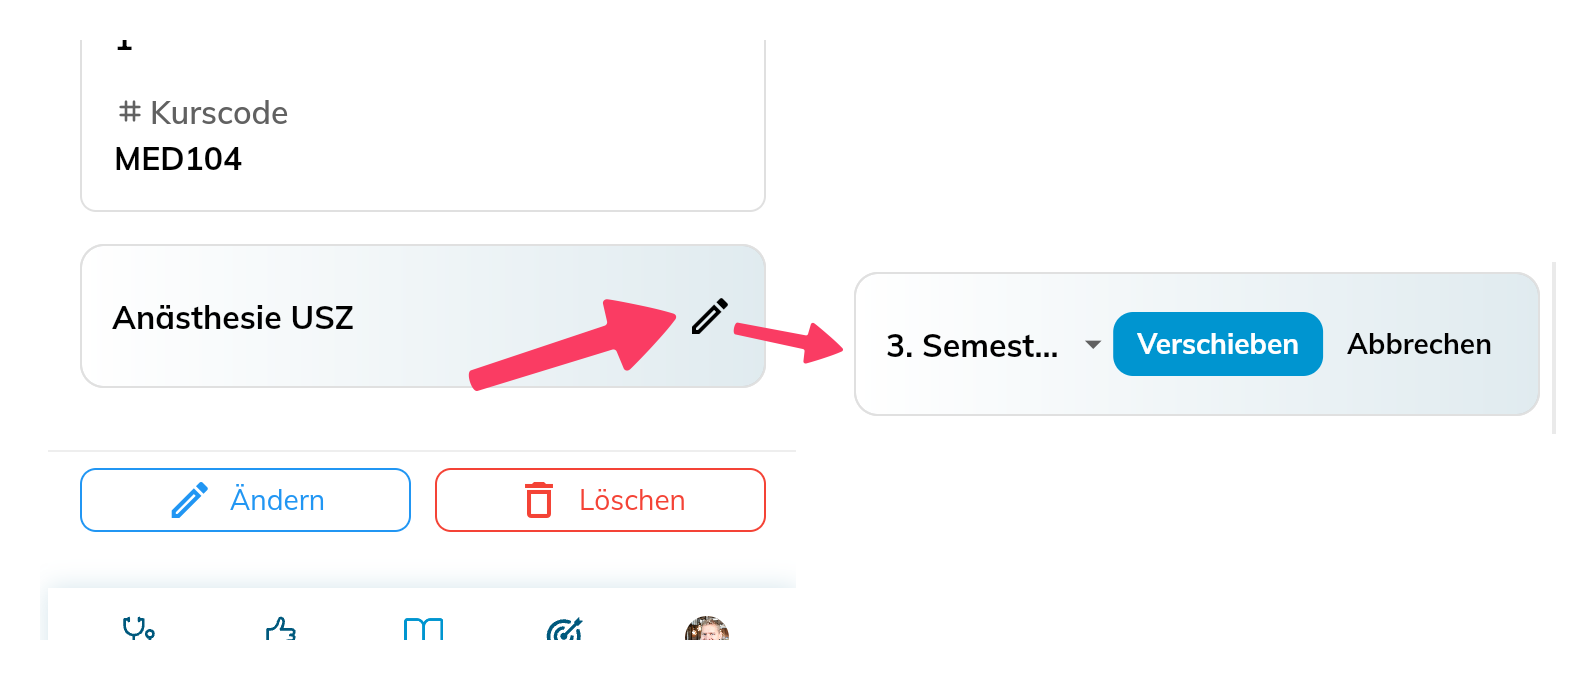
- Sections can be adjusted afterward (title, start and end date)
- New sections can be created at the bottom of the page and existing ones deleted. Courses already present in these sections are moved to the top section (according to date)

- Already documented courses can also be moved to another section